Thursday, February 28, 2013

Easy Easter Bunting

I'm making some cute props for my Easter shoot. I like bunting but couldn't find anything the exact style I wanted so I decided to make my own. Fabric bunting is generally sewn but...ain't nobody got time for that! So I was lazy and tacky glued it.

 
Anytime I have clothes or fabric with stains or holes, instead of throwing it away I cut large squares out of it and save for projects. I picked out a bunch of easter/spring colors from my stash.
 

I cut one square into a diamond shape and used it as a pattern for the rest of my squares. (Yes I know its not totally geometric. I was lazy, don't judge)

 
After about a half hour of cutting I ended up with a nice pile of diamond shapes.

I folded the diamonds over a piece of yarn to make sure they would match up nicely. I pinned a few just to get an idea of how much space I wanted in between each piece.

Next, time to glue. I used Aleene's Tacky glue, and put a line across the middle of the diamond (where I stuck the yarn) and also down each side. I folded the diamond over and pressed.


I made two strands with 9-10 traingles each. I can't wait to show you my Easter shoot set up!

Tuesday, February 26, 2013

Exploring Joshua Tree

Yesterday we went to Joshua Tree National Park. It was our first time in the park and I can't wait to go back! It's free for active duty and thier dependants and only $5 for civilians.

We did the Skull Rock Trail which was great for the girls. The trail itself was pretty level, but there were plenty of round rocks close to the trail to climb on. Here is a collage I made of the scenery...

It was a beautiful day and the scenery was amazing. The weather was perfect for a hike, warm but with a cool breeze. I'm in love with this area!


We spent about 3 hours hiking minus the 15 minutes it took to drive to the trail start.


Stopping for a water break and a picture. Always remember to carry plenty of water when you are in the desert. Well actually anywhere you are hiking!


We all had fun trying our hand (or foot) at rock climbing!

I think its very important to instill in our children a love of nature. My kids don't watch a lot of Tv, but I'm trying to cut back on the Tv they do watch. When I was growing up we never had cable, and movie nights were once a week on Fridays. We had to play outside or use our imaginations to entertain ourselves. Some of my best childhood memories were those of exploring the outdoors, going on outdoor adventures with my dad and playing outside with the neighborhood kids. It saddens me so much to see kids glued to a tvs for hours or gaming on the computer oblivious to the world around them. Did you know too much screen time can cause ADHD symptoms, obesity, anxiety and depression? There is so much more to life than video and computer games. Unplugg and get out there and do some exploring!

To celebrate nature I'm doing a giveaway this week for a cool Planet Earth coloring book. Click on the Giveaway tab and follow the instructions to enter.

Teriyaki Chicken Freezer Meal

This is a great meal you can prepare and cook the same day or freeze and cook later. I've listed the smaller version that feeds 2-3 people but its an easy recipe to double.

Ingredients

2 chicken breasts
1 onion cut into chunks
1 large can pinapple rings or chunks
2 large handfuls of baby carrots (or long carrots cut up)
1/2 cup teriyaki sauce
1 large clove of garlic, chopped

1. If you are preparing to freeze add all ingredients to gallon ziplock bag. Seal, lay flat and freeze. Don't forget to write the date prepared on the bag. When you are ready to cook this meal take out of the freezer and simply dump in the crockpot. Add a little less than 1/4 cup of teriyaki sauce, salt and pepper to taste and cook for 5-7 hours on low. Most teriyaki sauces are already pretty salty so don't overdo it with the salt. Serve hot over rice. (If you are preparing to cook same day just layer all ingredients in crockpot and cook)


Friday, February 22, 2013

Zebra toy box redo

Before we moved, my girls had an old military footlocker as a toybox. I was going to get rid of it but decided to re-make it to match thier bedroom decor.

I would post a before pic here....

but the memory card I bought keeps crashing or something. I lose all my pics or when I go to upload them to my computer they delete themselves. I guess thats what I get for buying stuff from China!

I started by sanding the box down and making sure the corners were smooth and splinter free. Then I wiped it down clean. Next, I spray painted the box using Rust-Oleum Hammered Paint in black. This works great to cover surface imperfections. After the first coat dried, I sprayed another coat on. Make sure you are in a well ventilated area when using spray paint.


For the top I cut batting to the size of the lid. (I used 3 sheets). I then covered the lid with zebra fabric, cutting holes for the hinges.  I stapled the fabric with a staple gun.


The finished product!!
(Pretty happy with how it turned out!)

Sunday, February 17, 2013

Buffalo Chicken Dip

This is one of my favorite dips! It's not the healthiest thing I've ever made but boyyy is it good!

Ingredients

1 cup ranch
1 8oz package of cream cheese
2 cans of chicken or 2 cups shredded chicken
3/4 cup hot sauce (Franks is my fav for this recipe)
2 cups cheddar cheese

1. Drain chicken and warm in pan on medium heat. Add hot sauce and mix well.


2. Cut cream cheese into cubes and add to meat. Stir and heat until well mixed. Stir in ranch and cheddar cheese. Add salt and pepper to taste.

3. I usually transfer to my crockpot at this point and set on low.


Friday, February 15, 2013

Yummy Trout or Salmon Packets

I know a lot of people who avoid fish, simply because they aren't sure how to cook it. This recipe is a cheap, super easy and yummy way to cook a filet. I prefer trout or salmon filets, they taste the least "fishy" in my opinion.


Place the filet on a sheet of aluminum foil. Each filet should have a seperate "pouch".


Next, cover with sliced lemons and a few pats of butter. Sprinkle with salt and pepper. Wrap up and place on cookie sheet (just in case any of the juices leak out). Bake at 375 for 20 min. You may need to take out sooner depending on the thickness of your filet.

 
Mmm so flaky and yummy!

Friday, February 8, 2013

Damask Bulletin Board Redo

I'm doing my office/craft room in blue and damask. I may or may not be slightly obsessed with damask lately. I was going to sell this bulletin board we had because it didn't really go with any of our decor. I also wanted to get a classy idea/brainstorming board for the office. Instead of spending money on a brand new board I took the old one and re-vamped it. I seriously love how it turned out!


I first taped off the cork area with painter's tape. Then I repainted the border a glossy black. Next I took damask fabric and stapled it. If you do a project similar to this make sure you staple the fabric to the wood and not the cork (it will pull right out) Also make sure to use a heavy duty stapler like an upholstry stapler for best results.

 
This is what I started with...cute but too boyish.
 
Taping off
 
 
Looks way different right? I loooove it!

Thursday, February 7, 2013

Taco Ring

So I was going to post a cute heart nail tutorial today...but we had a fail haha! I saw these cute heart nails on Pinterest and I was going to do a version of them. I got all my supplies out and began to paint my nails. When it came time to paint the hearts on I realized I didn't have toothpicks. The only thing I had close to a toothpick was a shish kabob skewer. Well obviously skewers are much bigger than toothpicks and my nails ended up looking like a bird took a big pink poop on them. Yeah, just in case you thought I'm this great artist...NOT.

I didn't have time to round up another project so instead I'm going to post a recipe for a yummy taco ring I made last night. It's Valentinsy right? Spicy taco meat? Ok maybe not so much but whatev!


Ingredients

1lb ground beef
1 pack taco seasoning
1-2 cups shredded cheddar cheese
2 packages crescent rolls
All the fixin's like lettuce, tomato sour cream, onions ect.


1. Brown and drain ground beef. Add taco seasoning and 2 tablespoons water to the meat. Mix well. Add 1-2 cups of cheese. Mix again and set aside.


2. Arrange triangles of dough into a star pattern like so. I usually end up having one or two triangles left over which I just roll up and throw on the pan beside the ring.


3. Spoon the beef mixture around the widest portions of the ring.


4. Flip the triangles over and smush into the ring like so.

5. Bake at 375 for 20 minutes or until browned. Top with lettuce, tomato, whatever you like on your tacos!

Tuesday, February 5, 2013

Tape Valentine Hearts

So I missed posting yesterday eeek! O well I'll post it on the tail end of our 2 weeks of Valentine themes. This is a fun easy craft for the kiddos to do. Sorry for the lack of pics, my memory card died on me this morning. I had several days worth of photos on it too...bummer.


Take some construction or painting paper and tape a heart on it. I used electrical tape since its easy to remove and doesn't rip the paper. Next, color or paint all over the paper. After the paint dries remove the tape. Sweet!

Sunday, February 3, 2013

Creamy Fruit Dip

Time for my 3rd Valentine's post! I made this creamy fruit dip today and we ate it for the superbowl along with some awesome buffalo chicken dip (a recipe I'll be posting later), shrimp and cocktail sauce, bacon cream cheese jalapenos, chips and salsa and hot dogs. O man it was goooood!! (It was also pretty fattening, therefore I'm going hiking with the girls tomorrow haha!)

 
 It's only 3 ingredients and super fast to whip up!

Ingredients

1 pack (8oz) cream cheese softened
1 jar (7oz) of marshmellow creme
1 cup powdered sugar

1. Mix all ingredients well and serve! For a fun twist you can also add a few drops of red food coloring to make pink dip!


Saturday, February 2, 2013

Valentine Swirl Cookies

Welcome to my 2nd Valentine's Day post! Today I'll show you how to make swirl cookies. The girl's and I had a lot of fun making these although it turned out to be a pretty messy project!


Ingredients

2 cups all purpose flour
1/4 tsp. salt
1/2 tsp. baking powder
1/2 cup (1 stick) butter
1 cup sugar
1 egg
2 tablespoons milk
1/2 tsp. vanilla

1. First whisk together your dry ingredients: flour, salt and baking powder then set aside.

 
2. Next cream together butter and sugar. Add in egg, milk and vanilla, mix until well combined. Slowly stir in flour mixture, make sure mixer is on low.


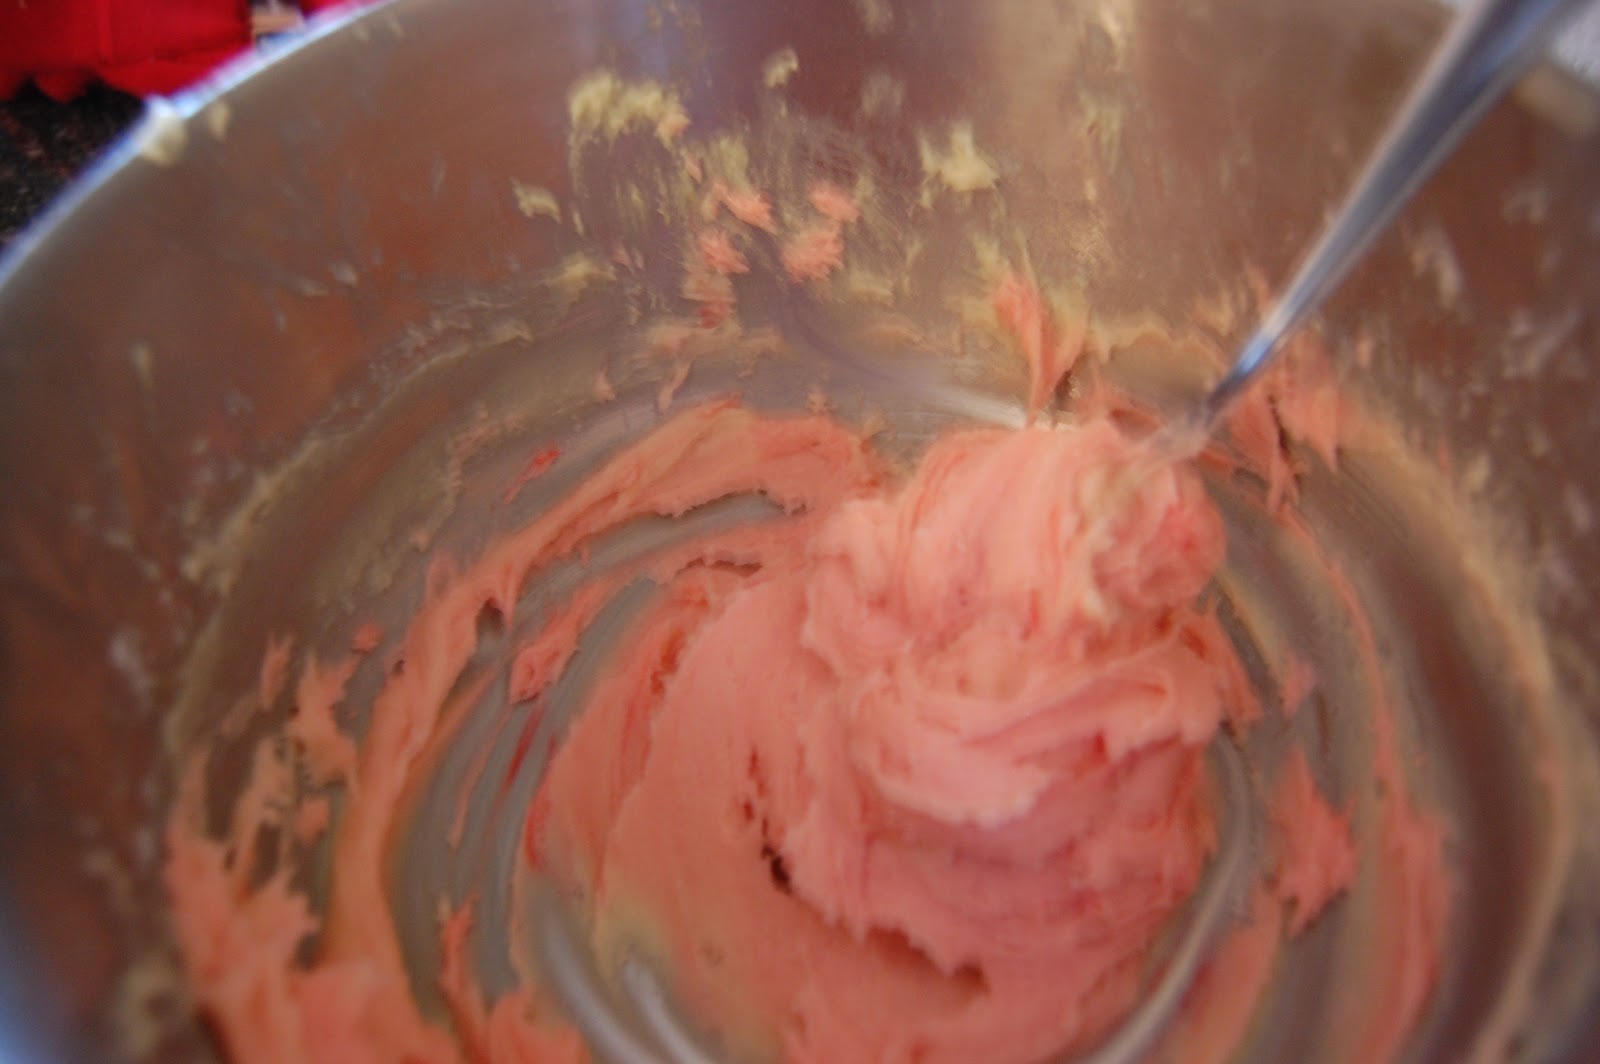
3. Transfer half the dough to a work surface. Add a few drops of red food coloring to the mixture left in the bowl. Mix until desired color, try not to overmix though.


4. Place a sheet of wax paper down, the dough in the middle and another sheet of wax paper on top of the dough. Roll out into a rectangle. Repeat with colored dough. Place on cookie sheet and chill in the fridge for 30 minutes.


5. Remove the dough from the refrigerator and peel the paper off of one side of the colored dough. Lightly flour your work surface and flip the dough over onto it, then peel off the paper from the other side. Brush the top of the colored dough with water using a pastry or basting brush. (Or if your cheap like me any ol' paintbrush will work) Peel the paper off of one side of your white dough. Place it dough side down on top of the colored dough, trying to align the two rectangles of dough as well as possible. Then peel the paper from the other side.


6. Trim the corners so they match up. Save the scraps you can make funky looking cookies with it. Next, gently start to roll dough up. If there are gaps when you are done, roll the log back in forth a bit to close the gaps. It should end up looking similar to this...


7. Brush the log with water, then roll in sprinkles or non pareils.

 
8. Wrap log in plastic wrap and chill 1 hour in the fridge. You can roll the scraps into a log as well. When you are ready to bake, preheat oven to 350. Slice circles of dough and place on cookie sheet. Bake 10 minutes or less, don't allow them brown. Cool on wire rack and then enjoy!


Friday, February 1, 2013

Melted Crayon Hearts

Wow its February already! I'm pretty into Valentine's Day so for the next two weeks I'll be posting a Valentine's themed food, craft or beauty tip every day.

My girls really loved this craft. I think my youngest is a bit of pyromaniac. She kept saying "I need more fire!"

 
For this activity you will need crayons with the wrapper removed, a small candle and some construction paper.

Start by drawing a heart on a piece of construction paper.


Next, carefully hold the crayon in the flame for a split second. (Supervision is required during this step, I held the crayon and then passed it to my girls.) You want it to be softened but not so much that it drips onto the candle. Run the crayon along the paper.


You can use different shades of red, pinks and whites. For the prettiest effect make sure the outline is covered.


Lastly, cut out the heart. You can then paste it onto a contrasting colored paper or lace or whatever you want to experiment with. Be creative and have fun!