Showing posts with label valentines day. Show all posts

Tuesday, February 5, 2013

Tape Valentine Hearts

So I missed posting yesterday eeek! O well I'll post it on the tail end of our 2 weeks of Valentine themes. This is a fun easy craft for the kiddos to do. Sorry for the lack of pics, my memory card died on me this morning. I had several days worth of photos on it too...bummer.


Take some construction or painting paper and tape a heart on it. I used electrical tape since its easy to remove and doesn't rip the paper. Next, color or paint all over the paper. After the paint dries remove the tape. Sweet!

Sunday, February 3, 2013

Creamy Fruit Dip

Time for my 3rd Valentine's post! I made this creamy fruit dip today and we ate it for the superbowl along with some awesome buffalo chicken dip (a recipe I'll be posting later), shrimp and cocktail sauce, bacon cream cheese jalapenos, chips and salsa and hot dogs. O man it was goooood!! (It was also pretty fattening, therefore I'm going hiking with the girls tomorrow haha!)

 
 It's only 3 ingredients and super fast to whip up!

Ingredients

1 pack (8oz) cream cheese softened
1 jar (7oz) of marshmellow creme
1 cup powdered sugar

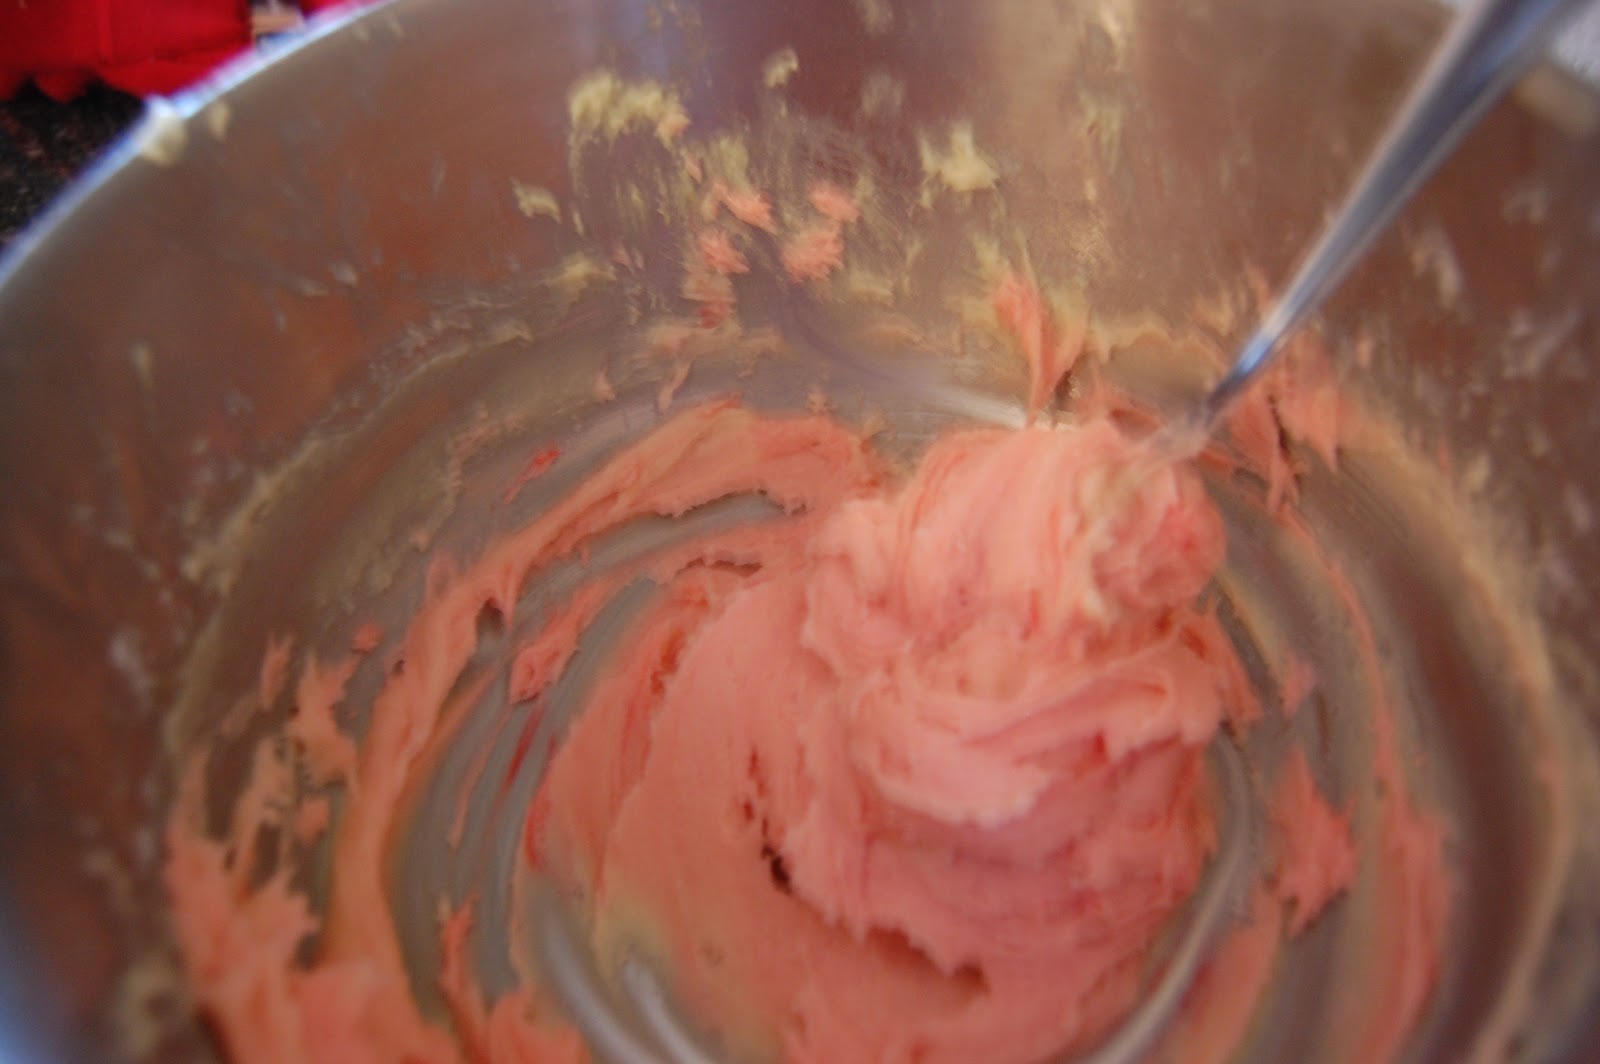
1. Mix all ingredients well and serve! For a fun twist you can also add a few drops of red food coloring to make pink dip!


Saturday, February 2, 2013

Valentine Swirl Cookies

Welcome to my 2nd Valentine's Day post! Today I'll show you how to make swirl cookies. The girl's and I had a lot of fun making these although it turned out to be a pretty messy project!


Ingredients

2 cups all purpose flour
1/4 tsp. salt
1/2 tsp. baking powder
1/2 cup (1 stick) butter
1 cup sugar
1 egg
2 tablespoons milk
1/2 tsp. vanilla

1. First whisk together your dry ingredients: flour, salt and baking powder then set aside.

 
2. Next cream together butter and sugar. Add in egg, milk and vanilla, mix until well combined. Slowly stir in flour mixture, make sure mixer is on low.


3. Transfer half the dough to a work surface. Add a few drops of red food coloring to the mixture left in the bowl. Mix until desired color, try not to overmix though.


4. Place a sheet of wax paper down, the dough in the middle and another sheet of wax paper on top of the dough. Roll out into a rectangle. Repeat with colored dough. Place on cookie sheet and chill in the fridge for 30 minutes.


5. Remove the dough from the refrigerator and peel the paper off of one side of the colored dough. Lightly flour your work surface and flip the dough over onto it, then peel off the paper from the other side. Brush the top of the colored dough with water using a pastry or basting brush. (Or if your cheap like me any ol' paintbrush will work) Peel the paper off of one side of your white dough. Place it dough side down on top of the colored dough, trying to align the two rectangles of dough as well as possible. Then peel the paper from the other side.


6. Trim the corners so they match up. Save the scraps you can make funky looking cookies with it. Next, gently start to roll dough up. If there are gaps when you are done, roll the log back in forth a bit to close the gaps. It should end up looking similar to this...


7. Brush the log with water, then roll in sprinkles or non pareils.

 
8. Wrap log in plastic wrap and chill 1 hour in the fridge. You can roll the scraps into a log as well. When you are ready to bake, preheat oven to 350. Slice circles of dough and place on cookie sheet. Bake 10 minutes or less, don't allow them brown. Cool on wire rack and then enjoy!


Friday, February 1, 2013

Melted Crayon Hearts

Wow its February already! I'm pretty into Valentine's Day so for the next two weeks I'll be posting a Valentine's themed food, craft or beauty tip every day.

My girls really loved this craft. I think my youngest is a bit of pyromaniac. She kept saying "I need more fire!"

 
For this activity you will need crayons with the wrapper removed, a small candle and some construction paper.

Start by drawing a heart on a piece of construction paper.


Next, carefully hold the crayon in the flame for a split second. (Supervision is required during this step, I held the crayon and then passed it to my girls.) You want it to be softened but not so much that it drips onto the candle. Run the crayon along the paper.


You can use different shades of red, pinks and whites. For the prettiest effect make sure the outline is covered.


Lastly, cut out the heart. You can then paste it onto a contrasting colored paper or lace or whatever you want to experiment with. Be creative and have fun!