Showing posts with label kids activities. Show all posts

Thursday, December 19, 2013

Product Review-Copy Kids DVD

"Copy-Kids is a DVD series designed to get very young children excited about eating fruits and vegetables.

Simple.  Adorable.  It shows kids having such a good time eating fruits and veggies, that when children watch it they want to join in.

Featuring well-known pediatrician, Dr. Jay Gordon, this product is a positive approach in the quest to get children eating healthy from the start."


The dvd is broken down into chapters featuring 1 fruit or vegetable. There are bell peppers, carrots, blueberries and bananas...just to name a few. From the main menu you can pick the individual chapter you may want to play to get your child to eat that particular fruit or vegetable. Or you can play the whole dvd while they watch for fun.


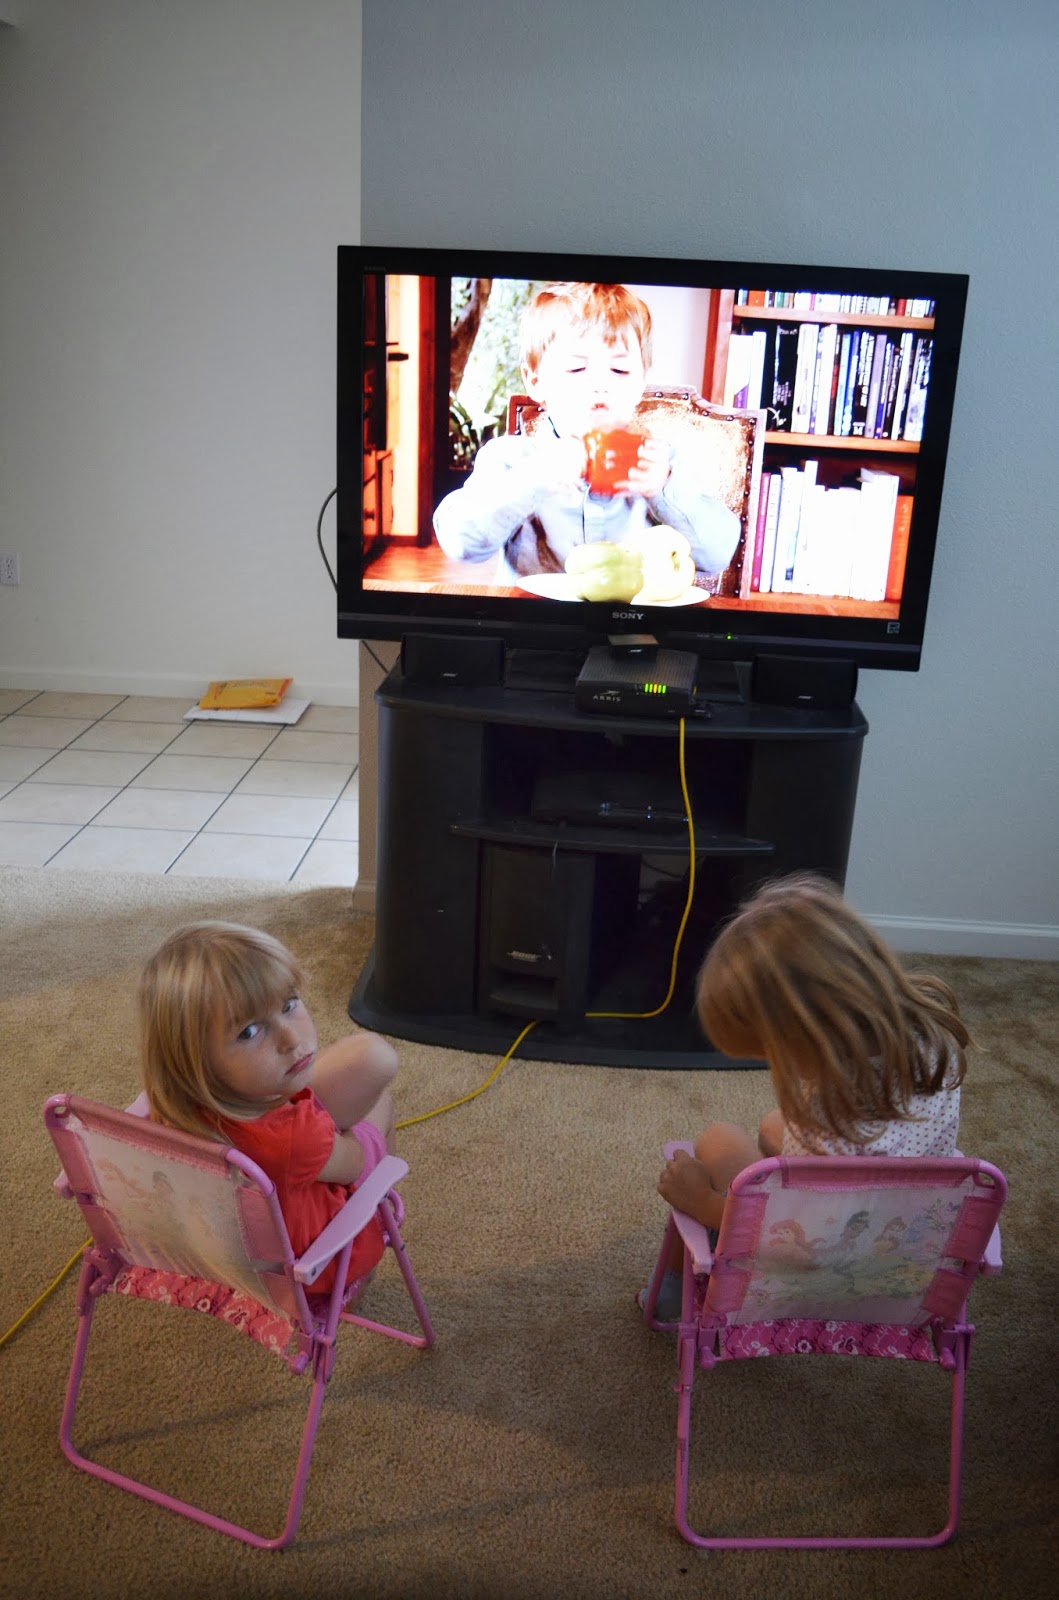
I watched the dvd with my 3 and 5 year old. At first my 5 year old was like, "Why is that kid eating food?" But they both enjoyed the movie and asked for each vegetable or fruit when it came on.


Haley wanted to enjoy some blueberries...


She even ate a carrot, which she normally isn't too excited about!

Find out more about Copy Kids-HERE
You can also visit their Facebook
And their Youtube Channel

Saturday, December 14, 2013

Easy Button Craft

This is a super easy craft I did a while back at my friend Shantel's house. You start with a canvas board. You can find them cheap and different sizes at Walmart.

You paint the background any color you wish.

Next you line up the buttons to make a letter, number or something else your creative mind leads you to. With a hot glue gun you paste the buttons on. I put smaller buttons on top of the bigger buttons for a neat design. You can do all sorts of designs with this project, it's super quick and easy. You can also use a mix of large and small buttons like I did.

Tuesday, November 5, 2013

Product Review-Personalized Decals

I was contacted by Kidecals to do a review of their awesome decals. These decals are neat because they "stick to any surface – including clothes – and are waterproof, dishwasher & washing machine safe! Stick these personalized kids name labels & kids name tags on easily lost items such as water bottles and mittens so they get quickly returned! With over 80 decal and label designs to meet trends and interests, there is a style of personalized labels for everyone – even grownups! "

They are PVC free and can be removed or repositioned. I really love their Computer keyboard stickers they make a laptop more personalized and just so much more fun!

They have awesome designs for boys, girls, kids and even adults!

These are the ones I had made for our family. I chose the surf theme since it's my husband's favourite hobby and can be used by the girls and boys in our family. The big ones are about 2" and the smaller ones are 1". (I blurred the number out so strange people don't call me lol)


My husband was pretty excited and put a small one right on his surfboard. The cool thing is they are waterproof so it will stay on there a good long while.

 
Want to check out this neat company?
 
 
Did you know they have free shipping? That's right FREE! And the company has graciously extended a coupon code for all Yours, Mine and Ours readers. Just type in kidecals15 at checkout to receive 15% of your order. Great deal so take advantage of it!!

Wednesday, March 6, 2013

Texture Collage Shamrocks

I've started a "Craft Club" in my home once a week. Its pretty fun for the girls to have friends over to craft and play with them. It also gives other moms a chance to get thier kids out of the house and participate in an educational activity. We had our first craft day this week and made Texture collage shamrocks, shamrock hats and ate a rainbow fruit tray for snack.

This craft is great for toddlers and preschoolers!

 
Start by cutting a shamrock out of cardboard. I used cereal boxes. Next gather some green craft supplies of different textures. I used tissue paper, construction paper, pom poms, yarn and felt.

Let the child cut up the craft supplies using safety scissors. Then glue to the shamrock.

The finished product!


Little crafters hard at work!

Tuesday, February 26, 2013

Exploring Joshua Tree

Yesterday we went to Joshua Tree National Park. It was our first time in the park and I can't wait to go back! It's free for active duty and thier dependants and only $5 for civilians.

We did the Skull Rock Trail which was great for the girls. The trail itself was pretty level, but there were plenty of round rocks close to the trail to climb on. Here is a collage I made of the scenery...

It was a beautiful day and the scenery was amazing. The weather was perfect for a hike, warm but with a cool breeze. I'm in love with this area!


We spent about 3 hours hiking minus the 15 minutes it took to drive to the trail start.


Stopping for a water break and a picture. Always remember to carry plenty of water when you are in the desert. Well actually anywhere you are hiking!


We all had fun trying our hand (or foot) at rock climbing!

I think its very important to instill in our children a love of nature. My kids don't watch a lot of Tv, but I'm trying to cut back on the Tv they do watch. When I was growing up we never had cable, and movie nights were once a week on Fridays. We had to play outside or use our imaginations to entertain ourselves. Some of my best childhood memories were those of exploring the outdoors, going on outdoor adventures with my dad and playing outside with the neighborhood kids. It saddens me so much to see kids glued to a tvs for hours or gaming on the computer oblivious to the world around them. Did you know too much screen time can cause ADHD symptoms, obesity, anxiety and depression? There is so much more to life than video and computer games. Unplugg and get out there and do some exploring!

To celebrate nature I'm doing a giveaway this week for a cool Planet Earth coloring book. Click on the Giveaway tab and follow the instructions to enter.

Friday, February 1, 2013

Melted Crayon Hearts

Wow its February already! I'm pretty into Valentine's Day so for the next two weeks I'll be posting a Valentine's themed food, craft or beauty tip every day.

My girls really loved this craft. I think my youngest is a bit of pyromaniac. She kept saying "I need more fire!"

 
For this activity you will need crayons with the wrapper removed, a small candle and some construction paper.

Start by drawing a heart on a piece of construction paper.


Next, carefully hold the crayon in the flame for a split second. (Supervision is required during this step, I held the crayon and then passed it to my girls.) You want it to be softened but not so much that it drips onto the candle. Run the crayon along the paper.


You can use different shades of red, pinks and whites. For the prettiest effect make sure the outline is covered.


Lastly, cut out the heart. You can then paste it onto a contrasting colored paper or lace or whatever you want to experiment with. Be creative and have fun!


Saturday, December 15, 2012

15 Kid Activities To Do In A Hotel Room


So you are stuck in a hotel room, the kids are going crazy and you are racking your brain for things to do. Here are a few ideas to get you started. These tips are mostly geared for toddler, preschool ages but some older kids may enjoy them as well.

1. Play with pipe cleaners. You can get a pack of 20 at Dollar Tree for $1 or Walmart for little more. Kids love to make things and wrap them all around the room. It's easy cleanup too!


2. Color. Bring along some crayons, markers and coloring books. If you forgot those just a pen and pad of paper work as well.

3. Weather permitting, take a nature walk around the hotel. (Make sure you are in a safe neighborhood)

4. Make a fort out of blankets, sheets and chairs.

5. Tear up strips of paper and draw shapes to make a memory game. You can also bring along this great Scrap Fabric Matching Game I wrote a tutorial on a while back.

6. Table top hockey. The puck can be a milk jug top, bottle cap or checker. The pucks can be aersol can caps (like hairspray) or a plastic cup. Be creative!

7. Take some small objects and hide them around the room. Go for a treasure hunt.

8. Make bubbles from shampoo, water and sugar and blow bubbles. You can use a straw, a pen cap or pipe cleaners (see #1).

9. Read books.

10. Play a shoot out game by balling up a pair of socks and throwing at a trashcan.

11. Skype with friends and family.

12. If you brought your computer, kids can take turns playing paint.

13. Board games. We like Cootie, Operation, Pop the Pig and Candyland.

14. Take straws and a light objects (like a feather) and see who can blow thier object across the finish line first.

15. If all else fails, there is always cartoons!

Sunday, December 2, 2012

Scrap Fabric Matching Activity

We have bags of clothes left over from when we did storage auctions. We have sold most of the nice ones, and what we have left over is mostly holey, stained clothes. I have lots of projects with scrap fabric to come up with! I saw a picture on pinterest that inspired this project. There was no link, so I came up with my own version.

 
You will need scrap fabric or old clothes, felt, spray adhesive and fabric scissors.

Cut out squares of fabric. You can make two squares from each pattern if you are making a memory match type game or cut out lots of squares from each pattern if you are doing an organizing type activity.

 
These are actully an old pair of sharpie colored pants from my youngest. All handme downs stop with her, she is so rough on her clothes! Make sure you are cutting squares a bit bigger than you need, you will trim them down later.


As a side note, little ones love playing with the fabric scraps. Its a great QUIET activity.

 
You should end up with a stack of squares similar to this.

 
Next cut your felt the size you want your squares to be. The younger the child the bigger they should be.
 
Lay down a newspaper or plastic bag, lay the felt on top and spray one side with the adhesive. Be careful, you only need a very light coat. You don't want it too wet. Next lay the felt (side with the adhesive) on top of the fabric square and press. Set aside to dry and repeat with the rest of the squares.

When the squares are dry, trim the fabric so it matches up with the felt.


Ta-da!
 
*While I used spray adhesive for this project, next time I will probably try a glue gun. The spray adhesive was pretty strong smelling, and it kind of lingered on the squares. If you have kids sensitive to chemicals definitely use a glue gun.

Monday, November 5, 2012

Sensory Play with Dry Beans

This is a fun activity for toddlers/preschoolers that promotes eye-hand coordination, counting and number skills. I lay a sheet down (for easier clean up) but you can also use a big plastic tub.

 I lay out some spoons and containers so the girls can practice scooping the beans.

We also use old egg cartons to practice counting. I will put 1 bean in the first cup, 2 in the second ect. on the first row. Then on the second row they have to match the amount on the first row.


Thursday, October 25, 2012

Educational Play-Sensory Bottles

We saved up some plastic bottles for a while to make sensory bottles. This is a great way for toddlers/preschoolers to explore and learn. Its also a great travel boredom buster. There are so many ways to create these! Here are a few we made today.

 
This one consists of water, glitter and blue food coloring. Blue is a relaxing color and the swirling glitter resembles a snowglobe.

 
This one consists of rice with hidden objects. I stuck in there a blue felt ball, a tiny hair clip, a wooden bead and an old earring. I tell the girls "Find the brown bead" ect. and they shake the bottle until they find the object.

This one consists of simply oil and water.

We ran out of bottles but will be making more as we come across some. Here are several more I like.

Marbles in hair gel, toy animals hidden in shredded paper and much more Click Here

Bits of wrapping paper, bubbles Click Here

Corn syrup and sequins Click Here

Sunday, October 21, 2012

Rice Krispy Pumpkins

One of my hubby's favorite snacks are rice krispy treats. He made some rice krispy pumpkins with the girls for fall.

Ingredients

3 tablespoons butter
4 cups mini marshmellows
6 cups Rice Krispies
Tootsie rolls
Green frosting

1. Melt butter over low heat, add marshellow and stir until completely melted. Add drops of yellow and red food coloring until marshmellows are desired shade of orange.


2. Add rice krispies and stir until completely coated.


3. Form into balls and stick a tootsie roll on top for a stem. Draw a leaf on with green frosting.


Tuesday, October 16, 2012

Simple Fall Kids Activity #4-Paper Candy Corns

Here is another fun, easy kids activity for fall. First cut or tear up a sheet of orange, yellow and white construction paper into dime sized pieces or smaller. Seperate the colors into different containers. My girls love that I actually let them use thier safety scissors for once!

 
Next, draw a triangle on a sheet of black or brown paper and divide the triangle into 3 sections.
 
 
Glue white pieces at the top, yellow in the middle and orange on the bottom.

(If you look closely in this pic you can see the sharpie on Haleys arm that her sister decorated her with :P)
 

Friday, October 12, 2012

Simple Fall Kids Activity #3-Footprint Ghosts

Today's craft was Footprint ghosts. I traced the girl's feet on a white sheet of paper and then cut them out. It was very difficult to keep Haley's feet still for this!

Next, we cut out eyes from black paper and glued them on. The girls colored thier ghosts and we hung them up in the window to scare their dad when he got home :o